
- With your image selected, open the Channel Mixer under the Adjustments menu
- Make sure the Output Channel is set to "gray"
- Set the RED channel to +100%, the GREEN channel to +200%, and the BLUE channel to -200%
- Make slight adjustments with the sliders to get the effect to your liking (I like lots of contrast)
- If your image ins't flattened, go ahead and flatten the layers
- Under the Filters menu, select Distort, then Diffuse Glow
- Adjust the Glow Amount and Graininess with the sliders (maybe start with a Glow amount of 2 or 3 and see how that looks)
- That's it!
I don't use this effect for shots of people since it can make them look really weird, but it works great for pics of landscapes or even the venue. It works particularly well on a sunny day where light is hitting the trees or grass. You'll get that "fluffy" infrared look that's so neat. I hope some of you can have fun with this little bit of trickery! Here are a couple samples:
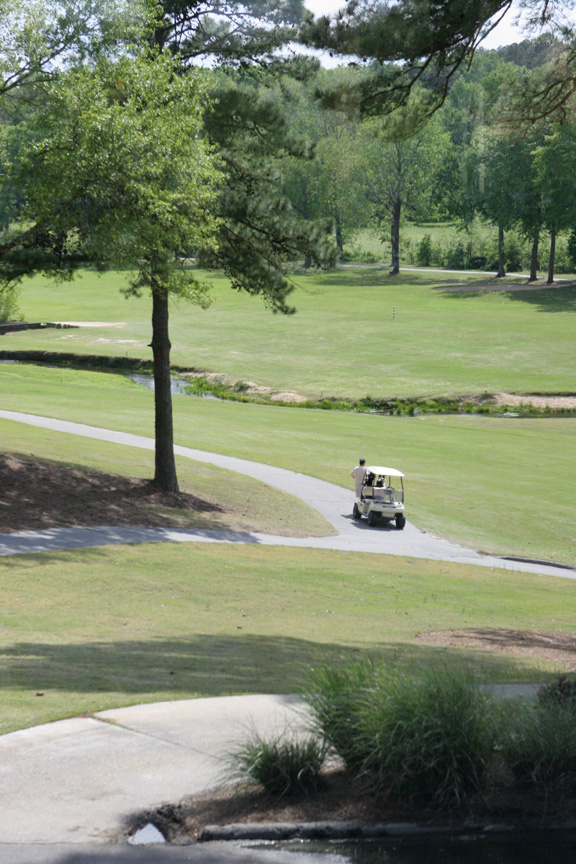
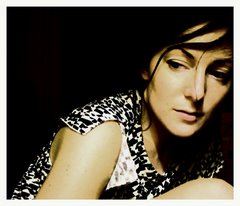
The original out of the camera
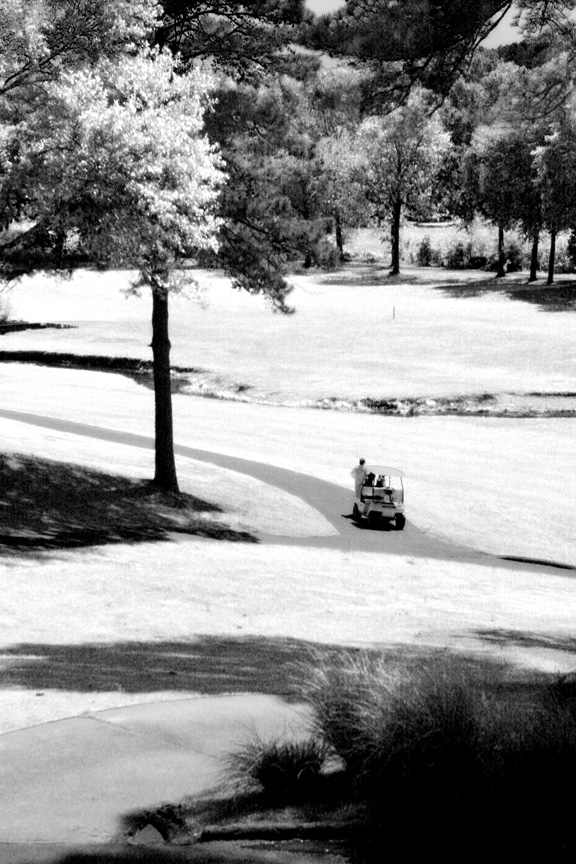
after the adjustments
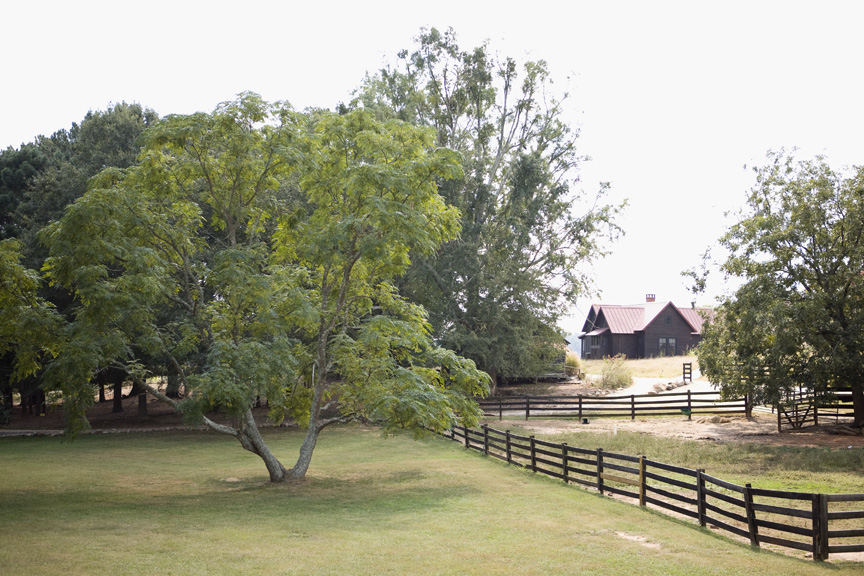
The original out of the camera
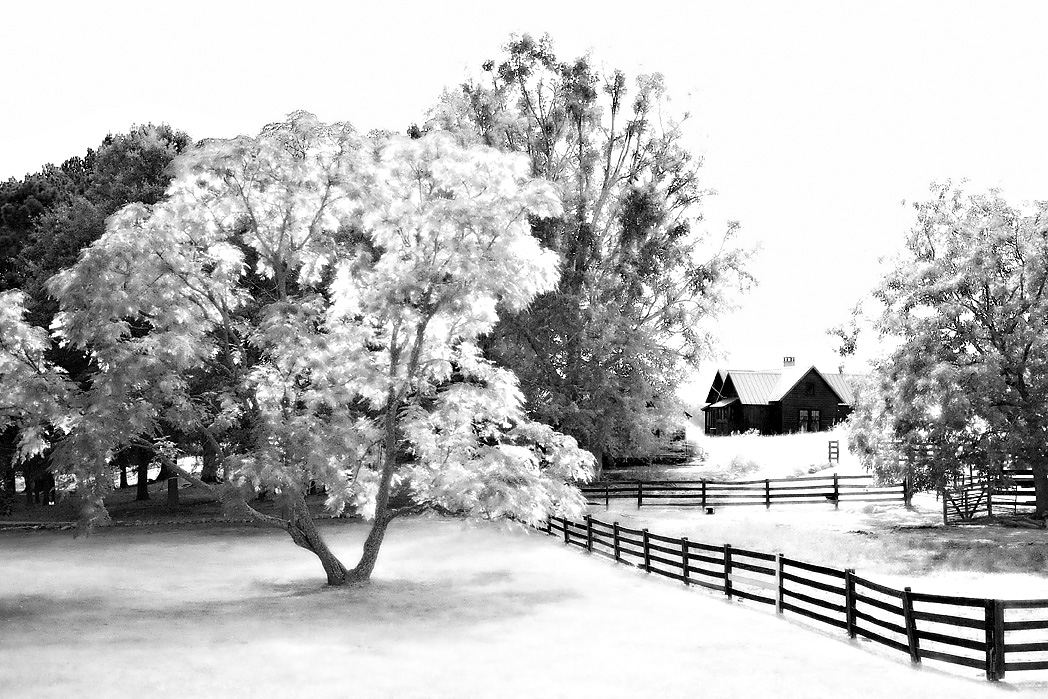
after the adjustments
1 comment:
Nice tips Stacy I love the second shot!!!!
Post a Comment