
As always, I will stress the importance of getting the exposure right in the camera. Then you can "enhance" the image instead of "fixing" it. I am by no means a Photoshop expert, but I'm happy to share some of the tricks I use to make happy shots a little happier.
For this first set, we were on the go, and I didn't see on my histogram that I could have bumped up the exposure a tad. So, I brightened everything up a bit and added some sharpening. Easy to do, but adds a lot of impact to the final image.
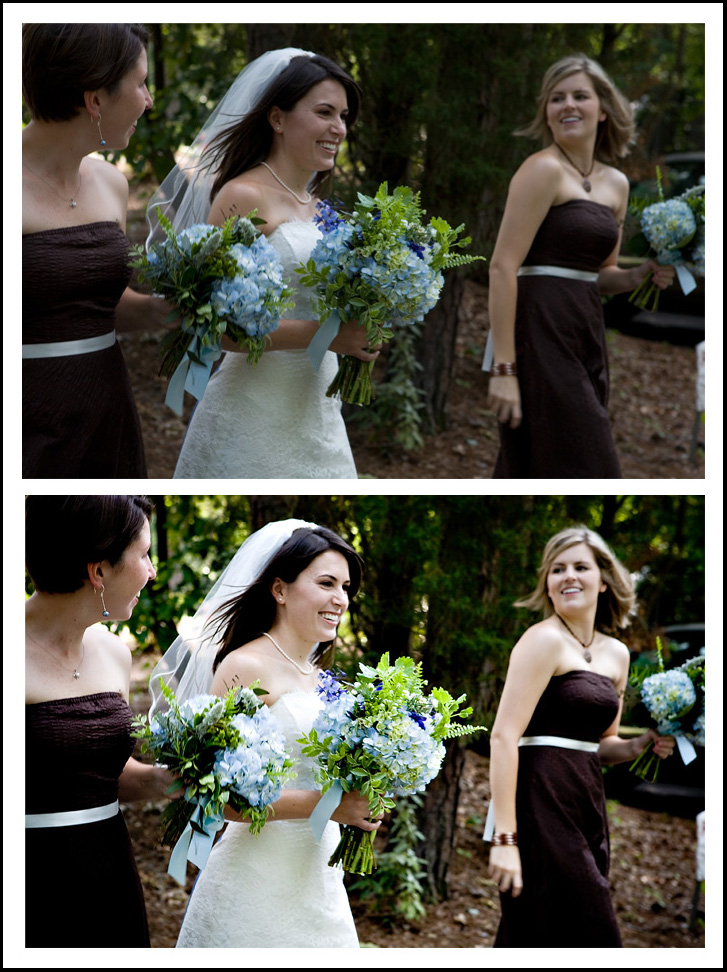
For this next one, I wanted the bride to just glow and really stand out in the shot. So, I added some vignetting and made the hue of the green a little darker as well.

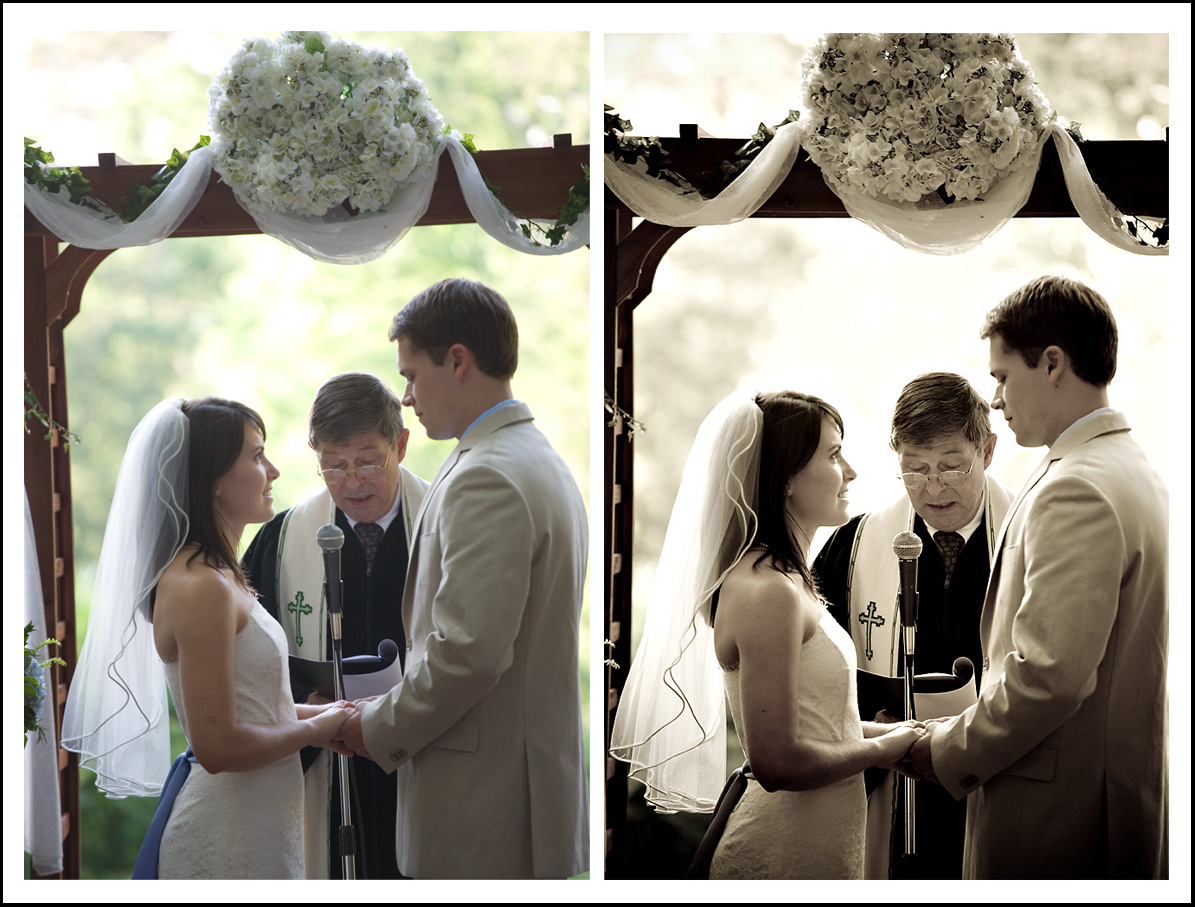
Since I had lots of ceremony shots that looked similar, I decided to give this next one a classic effect. First, I adjusted for the backlight by adding some fill light, slightly lowering the exposure, and bumping up the contrast using curves. Then, I ran an action preset to give it an antique tone.
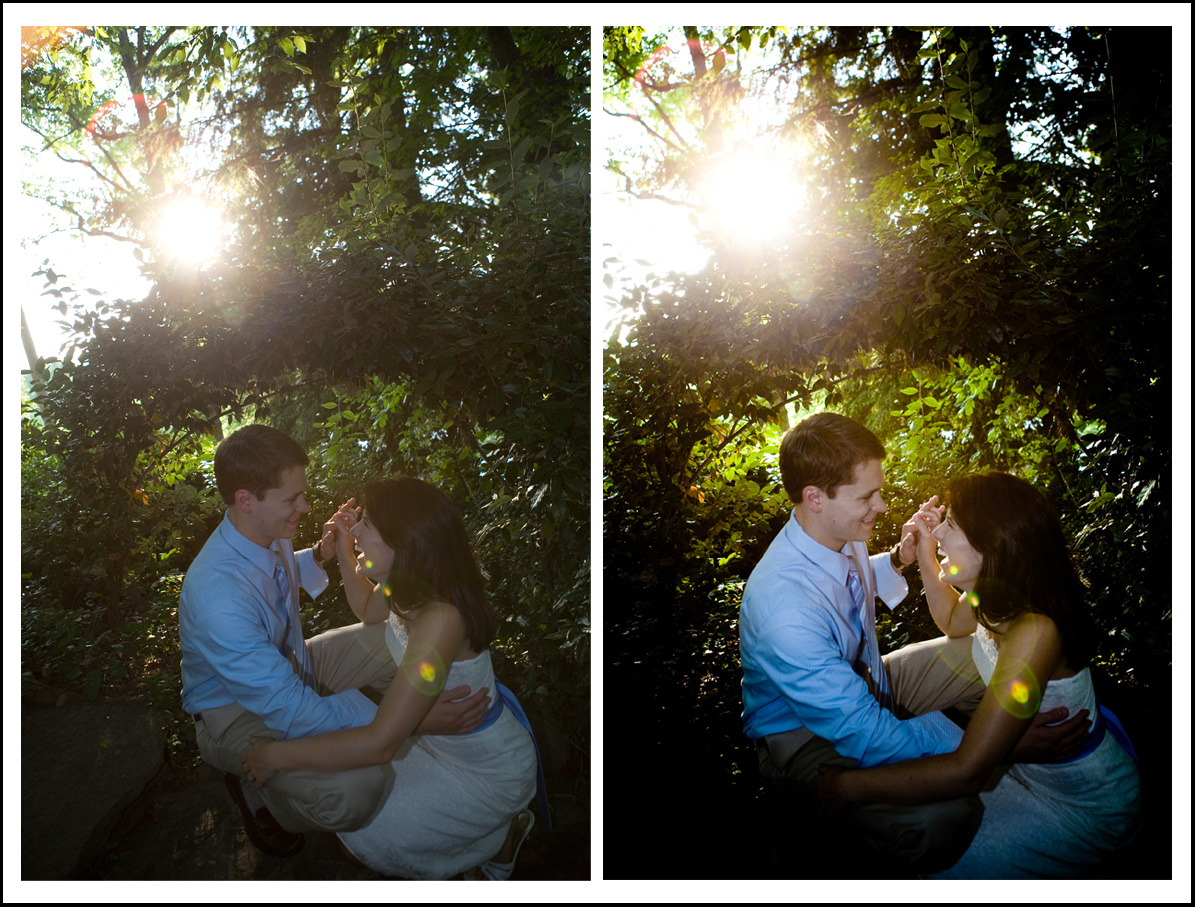
For this next one, I wanted the flare to be more obvious, and the bride and groom to "pop" more in the image. I increased the contrast, added some vignetting, and saturated the colors in the flare.
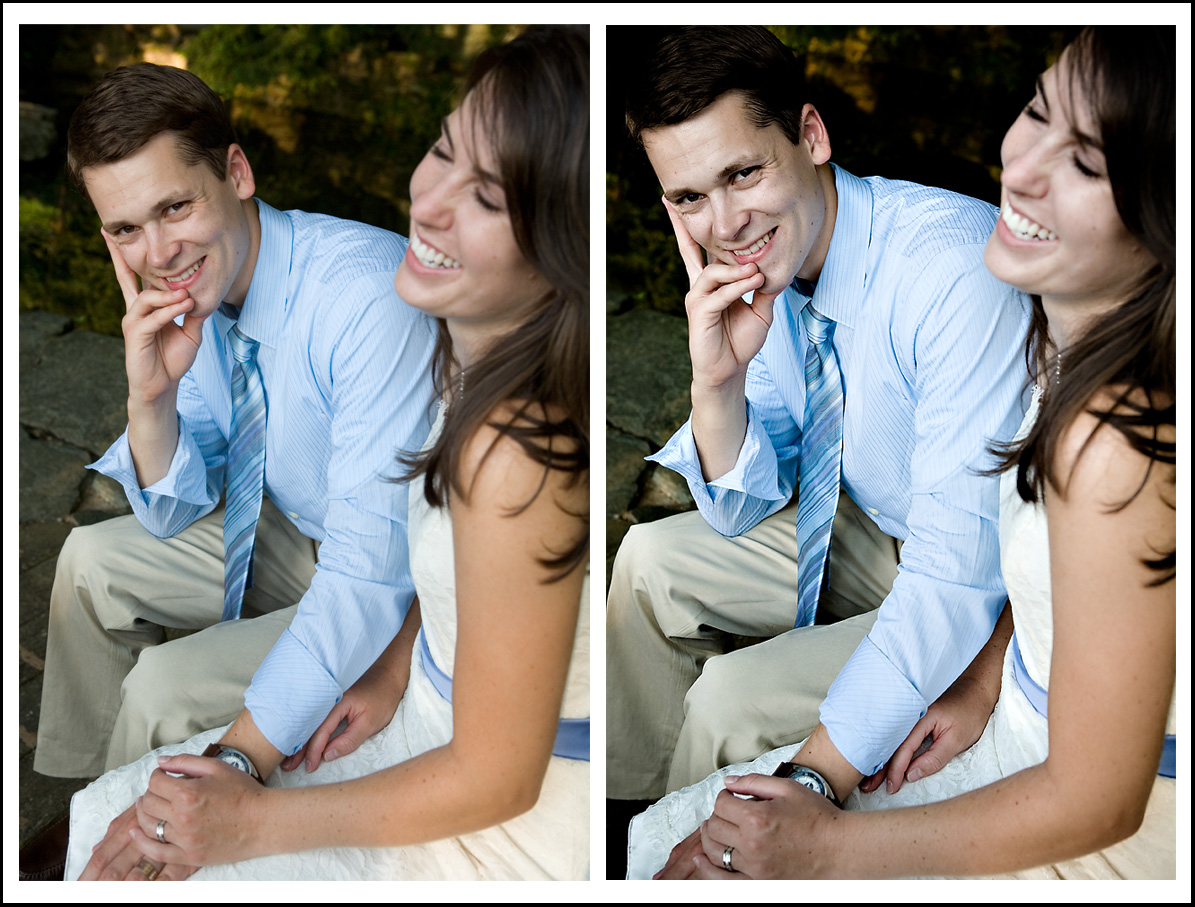
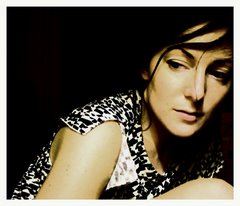
When I do before/after posts, I always want to include one where the editing is really subtle. For this one, all I did was bump up contrast, balance skin tones to make them even more dreamy, sharpen, and crop a little to put the focus on the groom's expression.
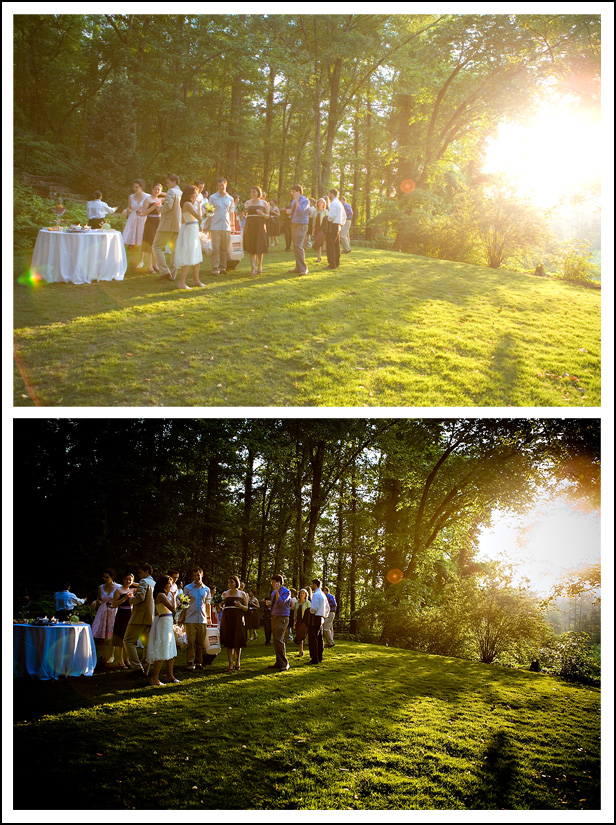
For this last one, I intentionally "over" exposed the image so that the main interest of the image (the people) wouldn't be way under exposed. I knew that if I shot it like this, I could just play with the curves, vignette, and increase the black content to keep lighting on the people dramatic, while also emphasizing the shadows and flare. Since I was this far away, I couldn't fill in with flash. If I had under exposed the people, it would have been more difficult to "fix" later.
I love looking at before/after pics of other photographers, so I'll try to keep blogging some of mine occasionally. I'm happy to hear about any other tricks that folks might have, so if you want to share....let us know how you wave your magic editing wand.
5 comments:
I love these before and after pieces. You have mad skills and and eye! Thanks for sharing!
thanks tanya! mighty kind of ya.
wow, you are so supa smahrt. and take beautiful pics.
what, all this magic doesn't just happen automatically in the camera?! Isn't that what the P mode is for? ... Professional?
oh, tomK...spoken like a true photographer! ya know, i think i'm gonna glue that wheel on my camera so that it can NEVER move out of the manual position. "M" is king!
Post a Comment